
Do you want to accept Easypaisa, JazzCash, and bank-transfer payments on your WordPress website?
If you run a WooCommerce store in Pakistan, giving customers familiar local payment options can make checkout easier.
Many customers already use mobile wallets and banking apps. They prefer paying directly from their phones instead of entering debit or credit card details.
The challenge is not always receiving money. It is knowing when a customer has actually paid.
In this guide, you will learn how to set up local bank-transfer payments on WooCommerce and automatically confirm them using DPay.
Can WooCommerce Accept Easypaisa and JazzCash?
Yes. WooCommerce can support different payment methods through plugins and payment integrations.
One method is to offer a direct bank-transfer checkout that customers can pay from supported banking apps or wallets.
With DPay, your store can offer a payment option called "Bank transfer / Easypaisa / JazzCash."
The customer selects this method, views the payment details, and sends the transfer using a compatible app.
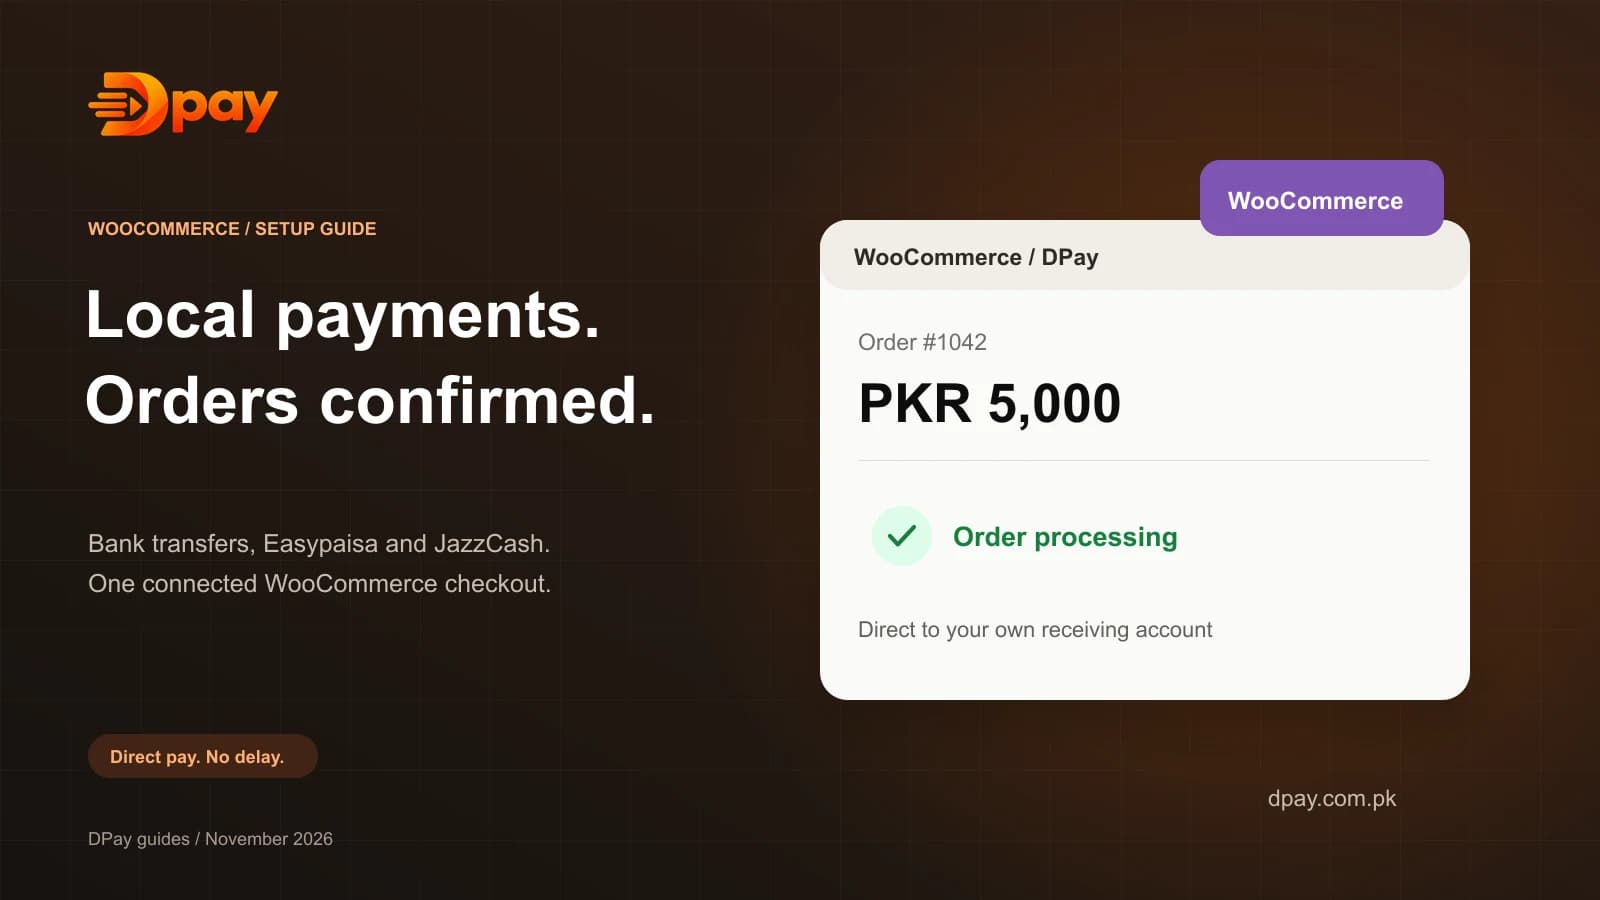
DPay then checks for the incoming payment and can automatically update the WooCommerce order.
This is different from directly processing wallet payments through Easypaisa or JazzCash merchant APIs.
Why Is Manual Bank Transfer Verification a Problem?
Imagine you receive 30 orders in one day.
Every customer sends money from a different app.
Some share screenshots. Others forget to send proof. A few transfer a different amount.
You must open your banking app, compare the transactions, find the correct orders, and update each order manually.
This creates extra work.
It can also create mistakes. For example, a screenshot may show that a payment was initiated, but that does not always prove the money reached your account.
An automatic verification system helps reduce this problem.
What Is DPay for WooCommerce?
DPay is a bank-transfer payment verification service designed for Pakistani merchants.
It provides an official WooCommerce plugin that connects your website with the DPay payment system.
The plugin supports:
- WooCommerce classic and block checkout.
- Payments from compatible local banks and wallets.
- Automatic payment verification.
- Automatic order status updates.
- Payment references and transaction details.
- Test payments before going live.
- Payment status checking if a webhook is delayed.
The customer transfers money to your own connected receiving account.
DPay does not hold that money or deduct a percentage from the sale.
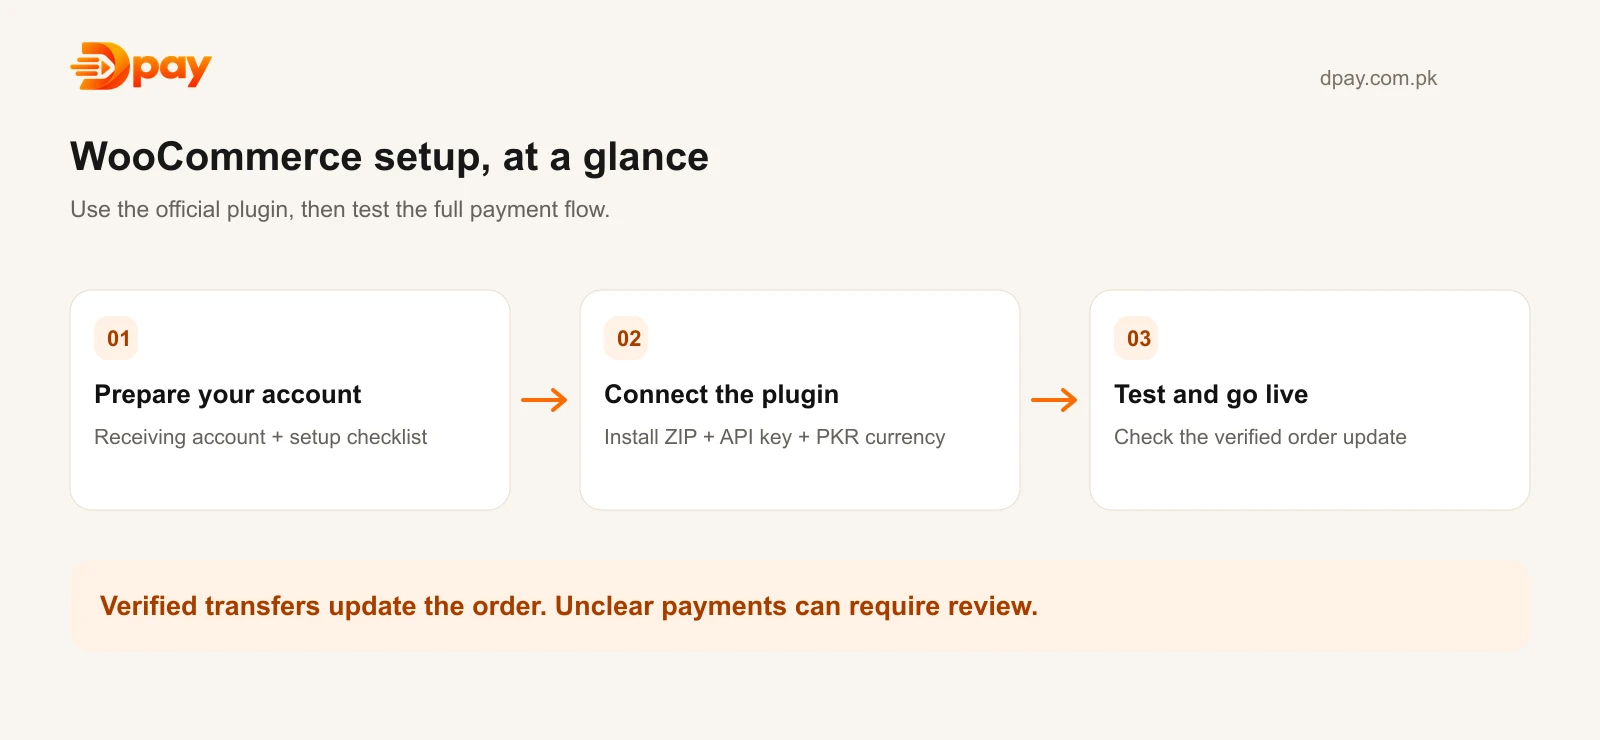
How to Install DPay on WooCommerce
Step 1: Create Your DPay Account
Visit DPay and create an account.
Complete the required account setup and add a supported receiving account.
DPay's documentation lists NayaPay, Raqami, and Meezan among its supported receiving-account options.
Set up the required bank-alert connection in your DPay dashboard.
Complete the setup checklist before enabling live payments.
Step 2: Download the WooCommerce Plugin
Open the official DPay WooCommerce documentation.
Download the plugin ZIP file from the documentation page.
You do not need to create your own payment plugin or write custom code.
Step 3: Install the Plugin in WordPress
Log in to your WordPress admin dashboard.
Go to:
Plugins → Add New Plugin → Upload Plugin
Choose the DPay ZIP file.
Click Install Now, then Activate.
Your DPay plugin is now installed.
Step 4: Connect WooCommerce to DPay
Open:
WooCommerce → Settings → Payments → DPay
Enter your DPay API key.
Save the settings.
The plugin should display its connection status and webhook registration information.
Keep your live API key private. Never place a secret API key inside public website content.
Step 5: Check Your Store Currency
DPay's WooCommerce integration works with Pakistani rupees.
Go to:
WooCommerce → Settings → General
Make sure the store currency is set to PKR.
If your store uses another currency, DPay may not appear as an available payment method.
Step 6: Test the Payment Process
Before accepting customer payments, run a test order.
Use a DPay test API key and place an order through your WooCommerce checkout.
The customer payment page should display the amount and payment reference.
You can use the DPay test environment to simulate a successful transfer.
Check whether your WooCommerce order changes to the appropriate paid or processing status.
After the test succeeds, switch to your live API key and complete the production setup.
What Happens When a Customer Places an Order?
Here is a simple example.
A customer buys a product worth Rs 4,500.
- The customer opens your WooCommerce checkout.
- They select Bank Transfer / Easypaisa / JazzCash.
- DPay displays the amount and receiving-account details.
- The customer sends the money using a supported app.
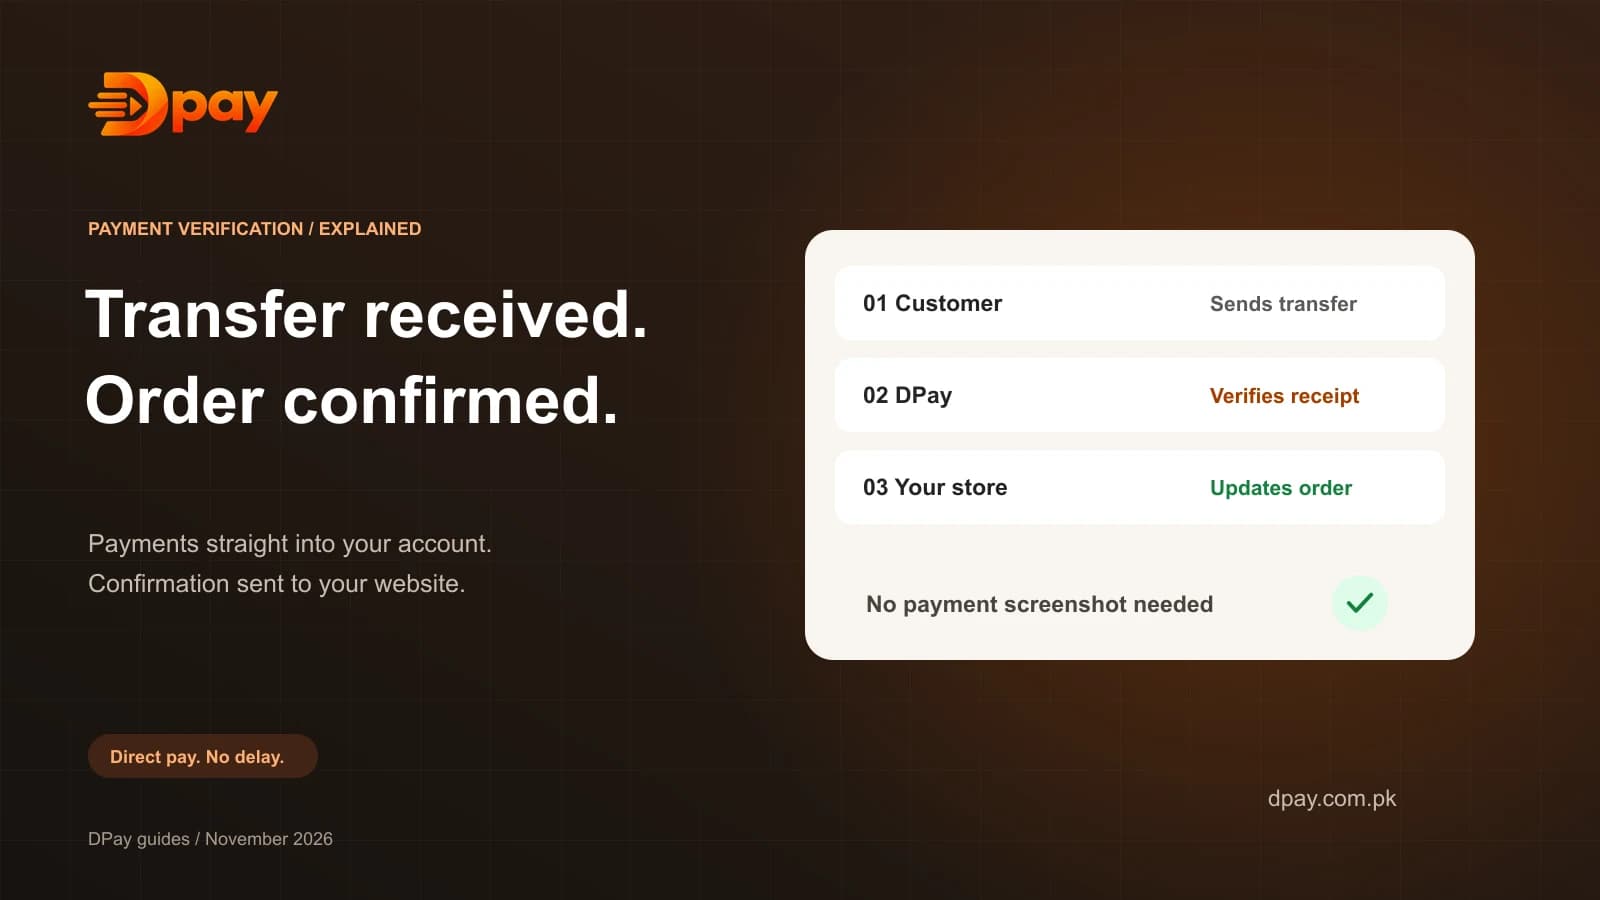
- DPay verifies that the transfer reached your receiving account.
- When the payment is verified, the WooCommerce order is updated.
The merchant does not need to approve a screenshot for every successfully matched transfer.
If a transfer is unclear or cannot be matched safely, it may need manual review.
Does DPay Charge a Percentage Per Sale?
DPay advertises 0% commission on sales.
Instead of a percentage deduction, DPay uses subscription plans with payment limits.
The plugin itself does not add a separate DPay commission to each order.
Banks and wallets may still charge their own transfer fees.
Check the latest DPay pricing before selecting a plan.
Frequently Asked Questions
Is DPay compatible with WordPress?
Yes. DPay provides an official plugin for WooCommerce, the ecommerce platform commonly used with WordPress.
Do I need coding knowledge?
No. The normal installation process uses a downloadable plugin and an API key.
Will WooCommerce automatically mark orders as paid?
When DPay successfully verifies the transfer, the plugin can update the WooCommerce order automatically.
Can I test DPay before accepting real payments?
Yes. DPay provides test API keys and a test payment flow.
Can customers use any bank app?
Customers can use compatible banking apps and wallets that support the required transfer route. The store must also have a supported receiving account configured correctly.
What happens if payment verification fails?
The order should remain unpaid or be flagged for review rather than being treated as successfully paid without evidence.
Final Thoughts
Accepting Easypaisa, JazzCash, and bank transfers can be useful for WooCommerce stores selling to customers in Pakistan.
Manual bank transfers are easy to start with, but checking payments one by one becomes difficult as order volume grows.
DPay offers a way to automate much of that work while keeping payments directly between the customer and your receiving account.
Ready to add local bank-transfer payments to WooCommerce?
Follow the official DPay WooCommerce setup guide or create your DPay account.
Sources & official guides
Reviewed 2 November 2026. Product availability, supported accounts and fees can change; check the provider’s current terms.

Published by DPay, a bank-transfer payment verification service by DOWNLABS in Lahore, Pakistan. DPay charges subscription fees with 0% commission on sales. Payments go directly into the merchant’s supported receiving account.